Tuesday 30 April 2013

Building a sliding mount for my in car radio - Part 2


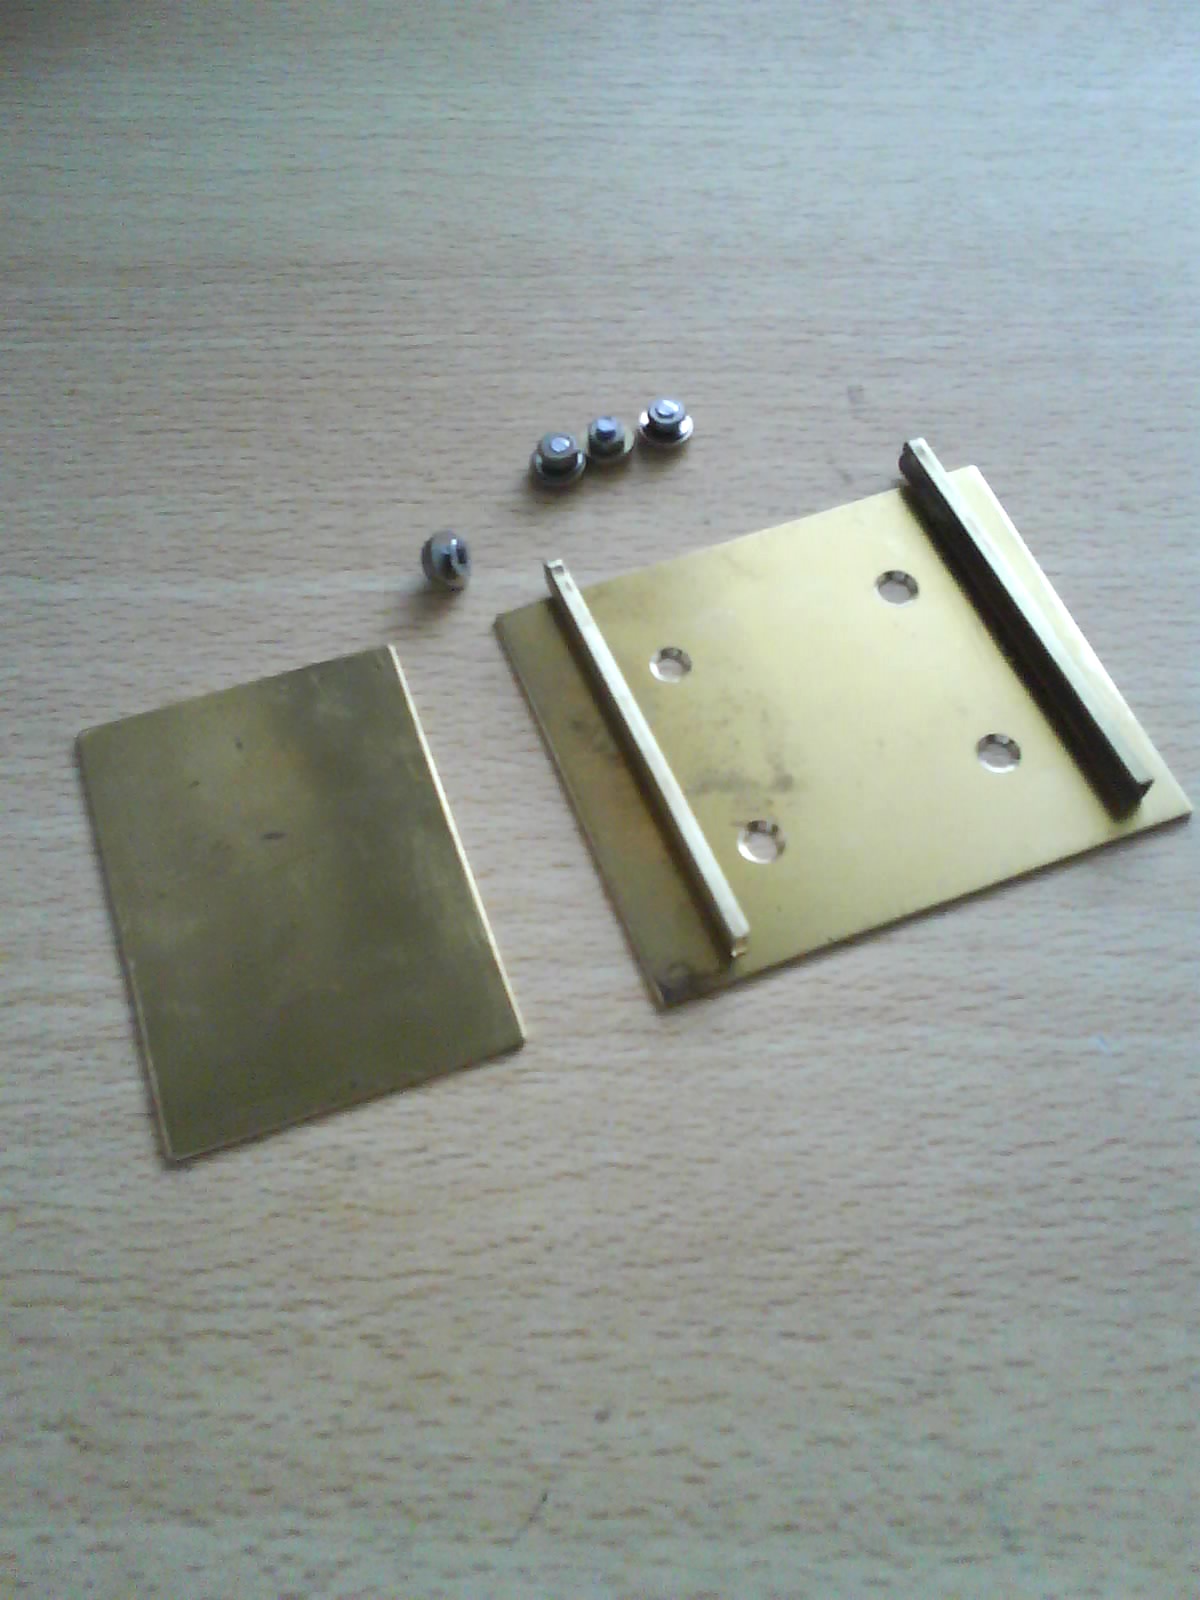
The main part of the bracket has now been drilled and the holes countersunk. I cut down four screws and will be using both flat and crinkle washers. The preformed channels have had one end folded over and silver soldered. The next job is to clean up the brass and position the first channel ready for soldering. I plan to hold the channel in place with some bent paper clips. Hopefully this will do the job without the parts moving about. Once the first one has been soldered in position I’ll arrange the second channel so that the top part of the bracket slides in without binding. After both have been soldered I’ll have the fun of cleaning it all up.

Thursday 25 April 2013

Building a sliding mount for my in car radio


Now that the weather is getting better, I am looking to fit my mobile radio into my car. I don’t want it to be a permanent fixture as it could be stolen if left in unattended. I have decided on where I want to fit the radio and have devised a bracket design that will allow me to slid the radio in and out. I’ll still have to connect the power and antenna but this will only take a few seconds. I am going to make the brackets out of various pieces of brass soldered together. I have cut out the bits I’ll need and a photograph of these is shown below. My next job is to fabricate the channels so that they are blocked at one end. These will then be soldered onto the larger sheet of brass which I’ll attach to the radio mount. The small sheet of brass will be mounted in the car where the radio bracket will slid over it. When I get some spare time to do the drilling and soldering I’ll post the next set of pictures.