Just had lots of fun running the 12v supply from the engine bay
of my car to a point just under my dashboard. Modern cars really know how to
squeeze every last inch of space. After an hours hard work and some cut hands I
finally got the cable to the correct location. I was happy to see my rig
powering up and quickly grabbed a SWR meter to test the antenna. With an output
of 50 Watts I have a near 1:1 SWR across the repeater and main transmission
frequencies. A quick audio check confirmed I could contact Kent from the
Danbury repeater. My next test is to try out the rig whilst mobile, probably on
my way to work. The rig sits nicely on its slide mount and can be easily fitted
and removed. I’ll probably run a short length of coax so that when I fix the
mag mount I won’t have trailing leads in the foot well. Let me know if you plan
to make your own slide mount and need any advice.
This blog covers amateur radio advice and techniques. I plan to show the reader how to get started in ham radio after they have passed the exams. A lot of the news will be based on homebrew projects. Please leave comments if you would like more details on any of the subjects I talk about.
Showing posts with label Brass. Show all posts
Tuesday, 18 June 2013
Tuesday, 28 May 2013
Building a sliding mount for my in car radio - Part 4
Now that I have my car back after its accident, I was able
to attach the fixed plate that makes up the mounting point for my slide mount.
I may trim the screws so that they fit flush but they don’t get in the way at
the moment. The plate fits well giving a sturdy base to slide the radio onto.
When the radio is in position it is very accessible and doesn’t interfere with
my driving position or getting in and out of the car. The next job is to run the power lead from the battery
through the bulkhead. The end of the lead will then be stored in the dropdown
tray behind the radio. I will then do something similar with the antenna lead
so that it is always available at the radio end and easy for me to connect the
lead from the mag-mount at the other.
Top of the bracket fitted to the car. I’ll remove it and
give it a coat of matt black paint so that it blends in better.
The radio slid into position.
Thursday, 2 May 2013
Building a sliding mount for my in car radio - Part 3
I have now soldered the two channels onto the brass base. I
held the channels in place with some bent paperclips which actually did a very
good job. I cleaned the brass and applied some flux before heating it. The
solder ran smoothly between the parts and made good clean joints. The top part
of the mount slides smoothly in the channels and should hold the radio securely
to the underside of my dashboard. The next job is to clean up the brass and
remove any flux and excess solder.
Paperclips did a good job of holding the parts
All the parts soldered in place
The finished parts showing the top mount slid into place
Tuesday, 30 April 2013
Building a sliding mount for my in car radio - Part 2
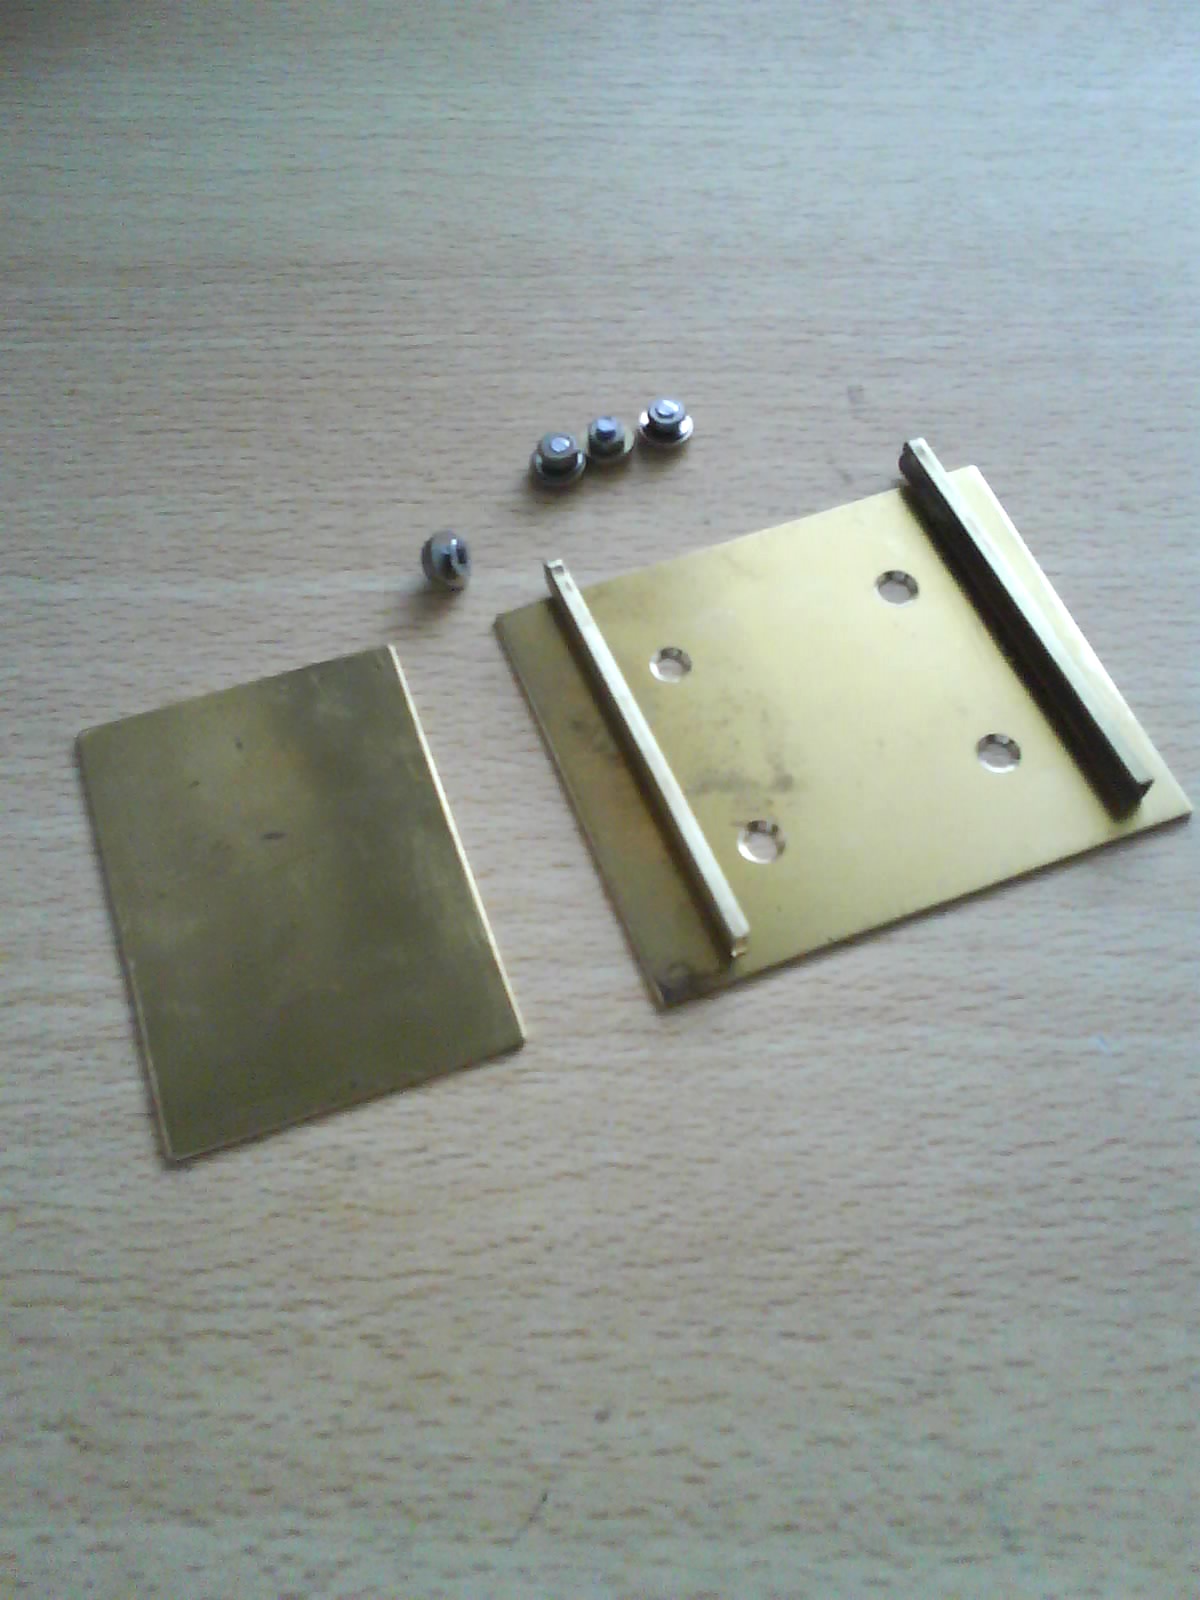
The main part of the bracket has now been drilled and the
holes countersunk. I cut down four screws and will be using both flat and crinkle
washers. The preformed channels have had one end folded over and silver
soldered. The next job is to clean up the brass and position the first channel
ready for soldering. I plan to hold the channel in place with some bent paper
clips. Hopefully this will do the job without the parts moving about. Once the
first one has been soldered in position I’ll arrange the second channel so that
the top part of the bracket slides in without binding. After both have been
soldered I’ll have the fun of cleaning it all up.
Subscribe to:
Posts (Atom)